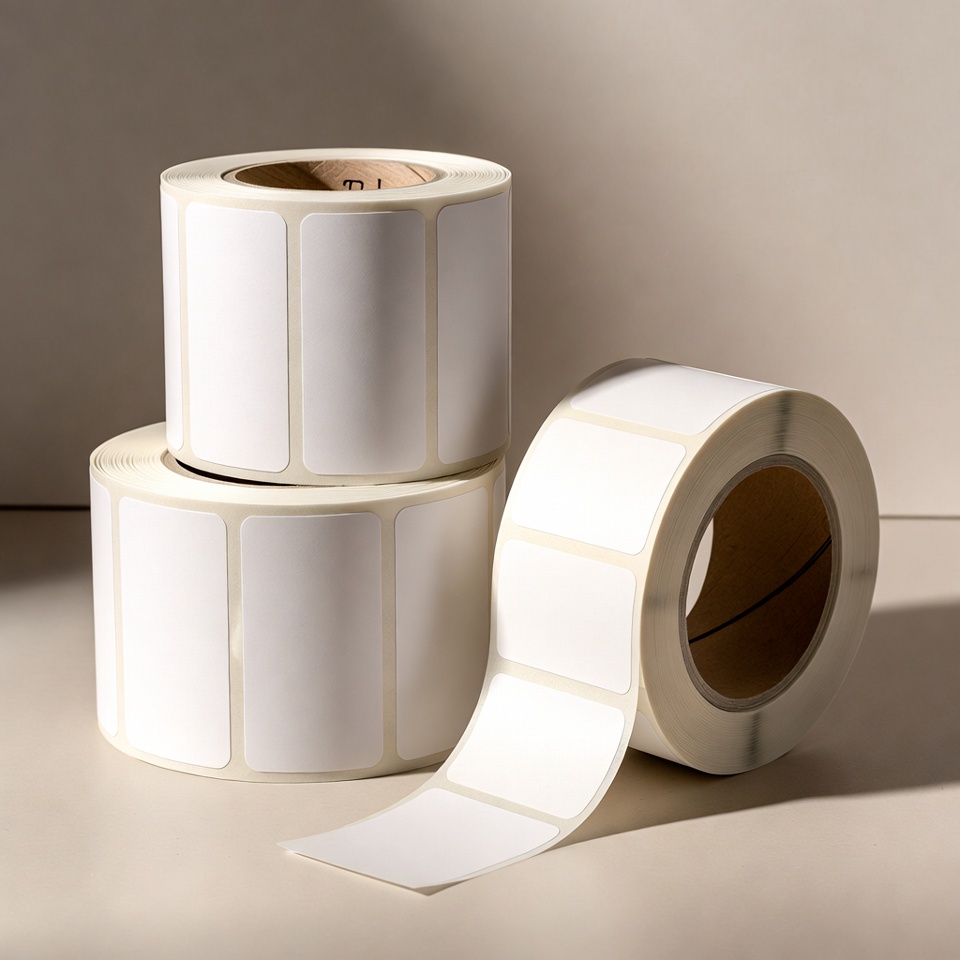
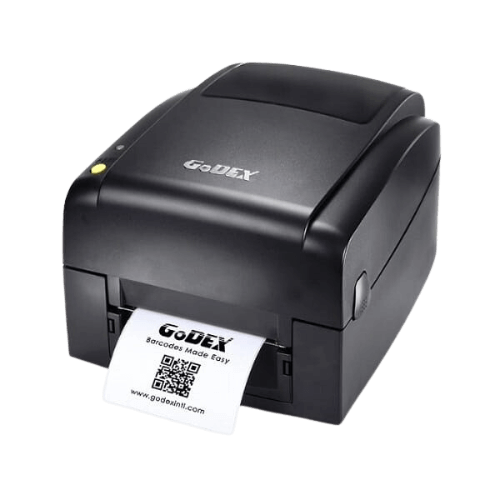
Marking parts in a carpentry workshop: how do you plan a useful label?
On this page
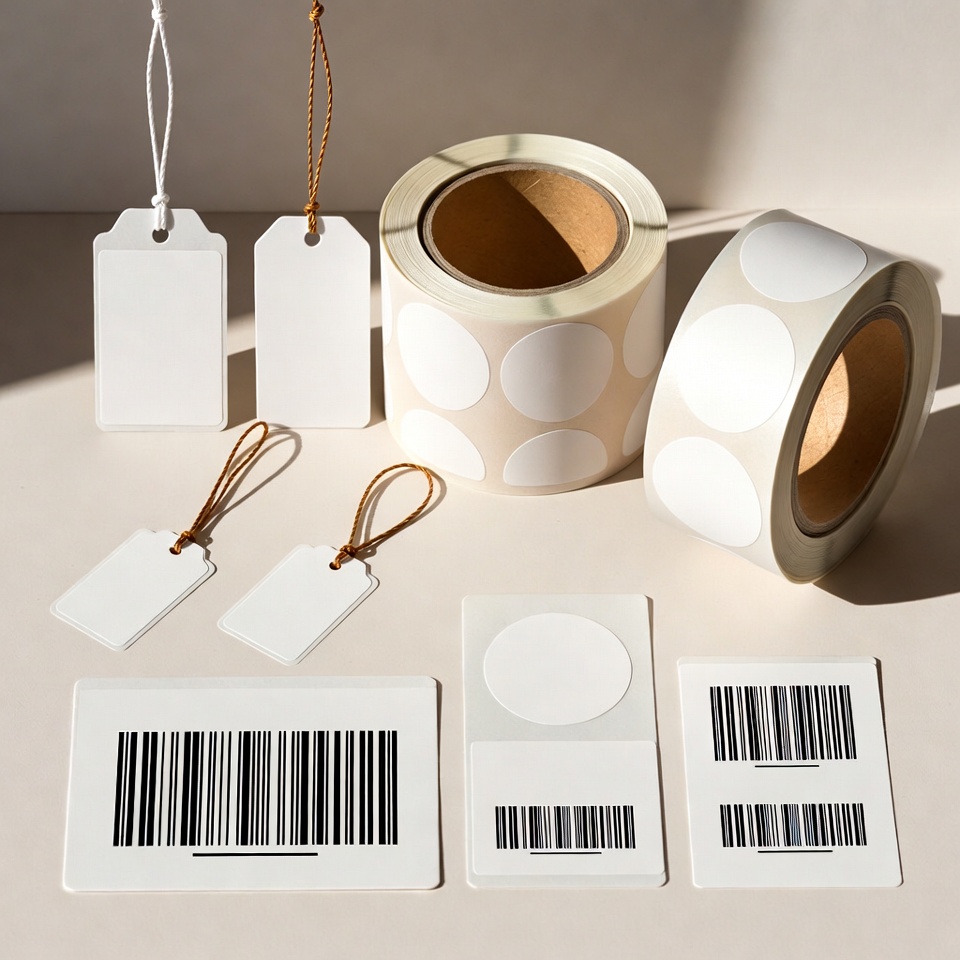
A well-organised label can help identify a part, order and assembly destination. Good planning starts with who reads the label and when it is removed.
Define what must appear
Choose clear fields such as order number, part name, size and assembly position. Avoid unnecessary information for the workflow stage in which the label is used.
Check the application surface
Specify whether this is bare wood, a coated board or packaging. Dust, texture and finish can affect adhesion and removal, so test a sample on the same material.
Tailored to your software and workflow
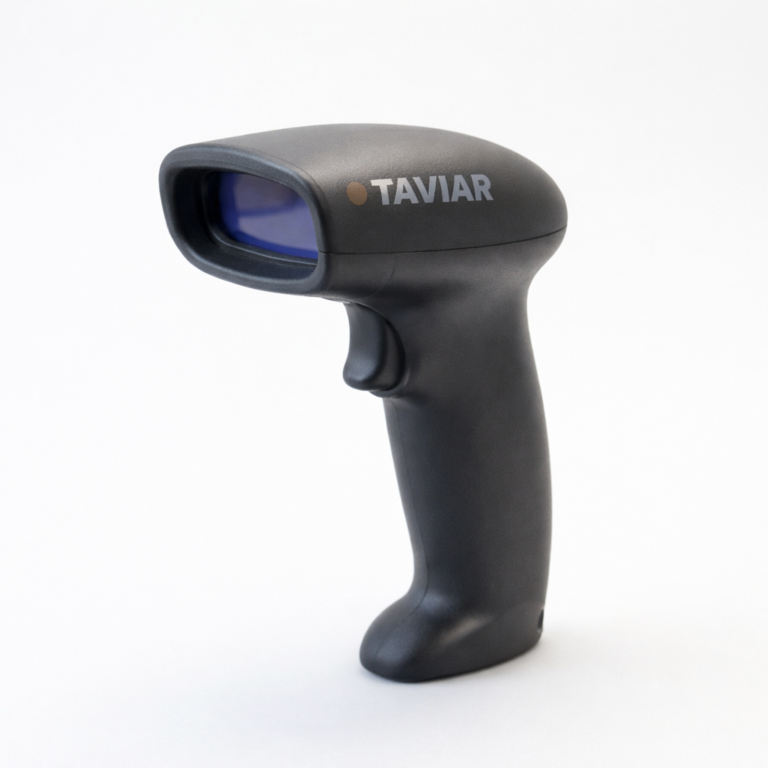
Take a sample label from the software you use and check dimensions, print orientation and part identification. If scanning a barcode, test it with the reader actually used at the workstation.
Approve removal before quantity production
Check when the label is removed and whether it leaves a mark. A label suitable for packaging may not suit a finished product, and clean removal cannot be promised without testing.
Tailor a business solution
Relevant products in the catalogue - Contact us with a sample, dimensions and model name for a compatibility check.
Guides to continue your selection
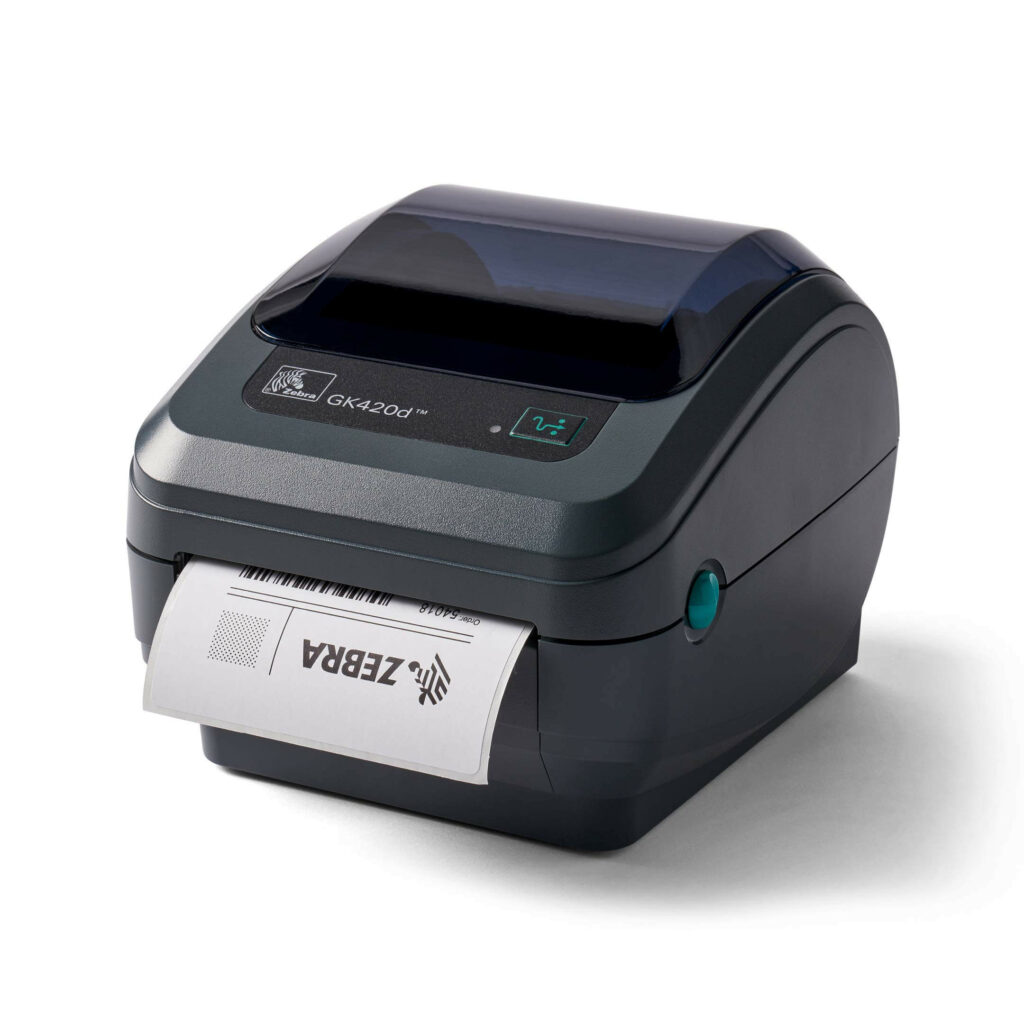
To complete details before ordering: Measuring the roll andChoosing a printer.
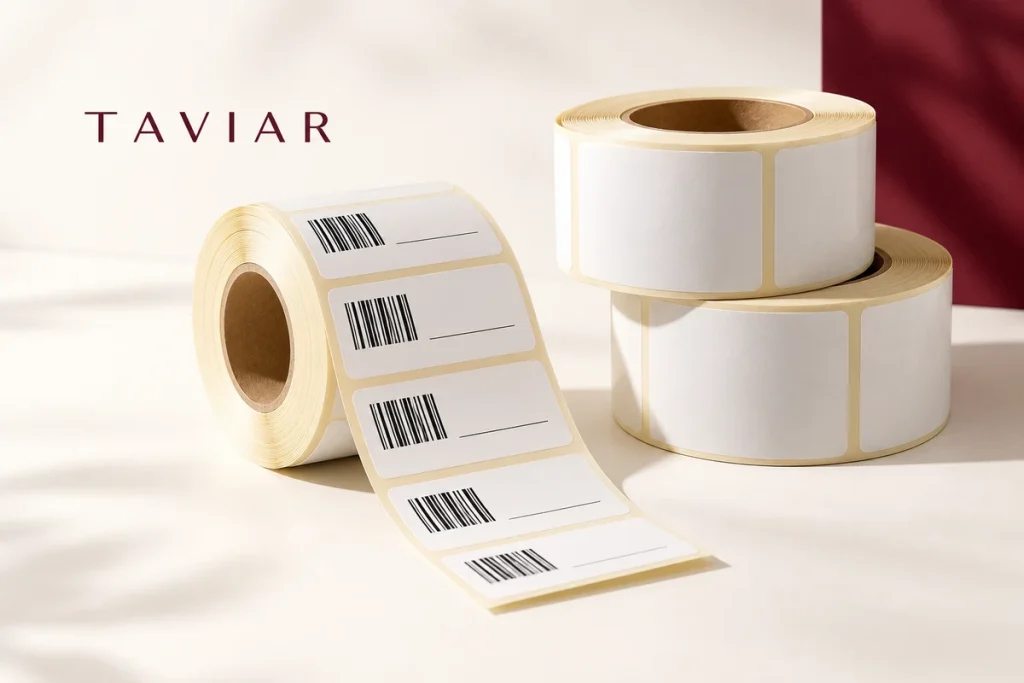
Part identification linked to assembly
Map how a part moves from cutting to packing or assembly. Define each part's identifier and information needed at the next station. Unnecessary label content may hinder rather than help readability.
Check what receives the label: raw material, a coating or the part's packaging. Whether the marking is removed later also matters. Test a suitable sample before large-scale use, especially where preserving the finish is important.
To reduce errors, link the data file to a structured work order. Name fields such as job number, part, quantity and orientation. Print a trial series and check staff can identify items under their working conditions.
A short preparation checklist before choosing
- Workstations and usage duration
- Surface and required removal method
- Identification fields for each part
- Sample file and printing workstation
How do I check that the solution is suitable?
Prepare a representative work sample. Test it with your equipment and item, record approvals and outstanding questions, and keep the version and specifications for repeat orders. Compare alternatives under the same conditions, not using photographs or prices for different tasks.
Part identification labels: information should support assembly
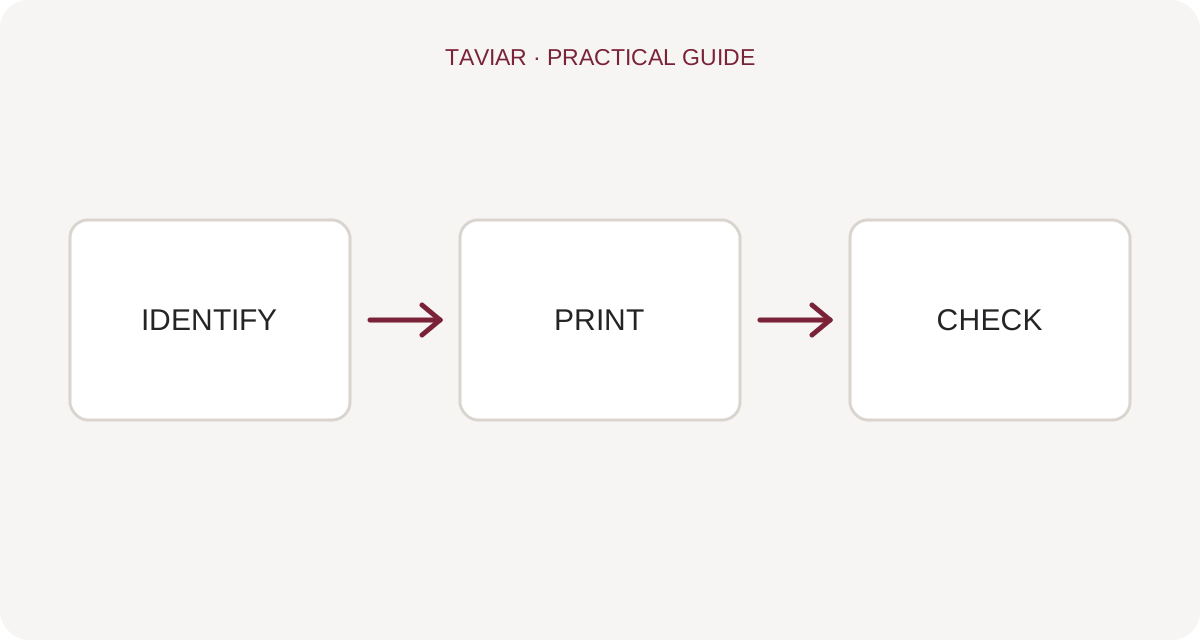
Which details will stay with the part?
Establish a consistent identification method for parts, orders and work stages. Short, clear names help handover between cutting, processing and assembly. If using numbering or a barcode, ensure it links to an existing record and that a new number is not unintentionally generated on every print.
To continue checking, see Choosing material and adhesive.
Adhesive suited to the surface and workflow stage
Send a surface sample: bare wood, coating or packaging. Check whether the label must be removed before delivery and whether it leaves a mark. Adhesive behaviour on one surface does not guarantee suitability for another. Also check what happens after the usual waiting period in the process.
To continue checking, see Printers for business marking.
Printing at the point of work or preparing in advance
Compare labels produced per order with preprinted rolls. If information differs for each part, plan how it reaches the label and who checks printing. Keep an approved sample at the workstation and apply labels consistently to make information easier to find.
To continue checking, see Measuring the label and roll.